Pages

Sunday, January 29, 2012

Eggless Chocolate Cupcake With Buttercream frosting


BM#12W2, Day7: I saved the best for the last post of this month. Behold the first ever frosted cupcake creation that ever came out of my kitchen..I have never bothered to make any frosted creation at home (until now) cause I have a general aversion towards Frosting..If someone ever gives me a piece of cake or a cupcake, I would scrape off the frosting and then dig into the cake underneath. (Well, all I know is that I can't continue to stay that way cause my son is constantly pestering me for cupcakes and I have to get over whatever this "love-hate-but-mostly-hate" thingy I have for the frosting and do it once in a blue moon to please my son.) But that is not to say that I don't like looking at a decorated cake/cupcake. I have always wanted to take those Wilton Cake Decorating Courses..Don't know when that will happen though..

The day I made this cupcake, my artistic friend was visiting me..she is very creative, constantly drawing Henna and Kolam Patterns everywhere, even in bits of paper when we were in college. It was a good thing she was around cause she happily got involved in frosting all the 18 cupcakes that I made.Don't you love those rose-bud patterns? So thanks a bunch, S. Do stop by often. You and I can make more beautiful cupcakes, yes?? And I have more challenges for you. ;)

Treat from my son to me-
We got him a Nook Tablet last year and he creates lovely pages and adds to his digital album..The funny thing is he creates plenty of hearts and sings Taylor Swift's  "Last Christmas I gave you my heart". Truth be told, he is the cutest cupcake I ever created. :)

Treat from me(and Aunty S) to him-

For Your Ears: Its been nearly 3 years, this song and I are still going strong. Wondering what I am saying? I meant, I am still having this as one of the Top 10 favorite songs for the past 3 years. Its a very beautiful song..I listen to it often and don't mind watching Deepika. She is so gorgeous!


Round-Up of BM#12, Week1: Something Sweet (Sweet Beginnings to kick start New Year with a Sweet Note)
Round-Up of BM#12, Week2: Chocolate Mela (Taste and Tunes)
Now, onto the recipe-
Ingredients(Recipe for the cupcake/muffin from here):
For the Chocolate Cup-Cake: Makes 12-16 Medium Cupcakes
  • 1-1/2 Cups Unbleached All-Purpose Flour
  • 1-1/2 Cups Cold Water
  • 1 Cup Dark Brown Sugar
  • 1-1/2 Tbsp White Vinegar
  • 1/4 Cup Cocoa Powder
  • 6 Tbsp Olive Oil
  • 1/2 Tsp Baking Soda
  • A pinch of Salt
For the Butter-Cream Frosting(Recipe from here): For ~18 Cupcakes 
Note:Frosted the Cupcakes using "Wilton 32 Tip - Open Star Tip"
  • 1/2 Stick Butter, at room temperature
  • 3/4 Cup Confectioners Sugar
  • 1/8 Tsp Salt
  • 1 Drop Gel Red Food Coloring
  • 1/2 Tsp Vanilla Extract
  • 1 Tbsp Heavy Cream
Procedure:
  • Sift the flour along with cocoa powder and baking soda. Whisk in the salt.
  • In another bowl, using an electric mixer, combine brown sugar, oil, vinegar,cold water and vanilla extract.
  • Combine until there are no clumps in the batter. Line the muffin pan with cupcake liners.
  • Preheat the oven to 350 degrees F. Ladle in the batter until the cups are half-filled, if you want 18 cupcakes. Else 3/4 Cup gives you 12.
  • Bake for 25 minutes and move it to a cooling rack.
  • Make the Frosting: Sift the confectioner's sugar into a bowl to remove any clumps.
  • Cream the butter, salt and vanilla extract at high speed for 1-2 minutes. The add the sugar in batches and combine at medium speed for another 2-3 minutes. Stir in a drop or two of red coloring using a silicone spatula. This will give the frosting a double-color effect. 
  • Spoon the frosting into a piping bag attached with Wilton's star tip. And pipe on top of the cupcakes. Leftover frosting can be refrigerated for a day or two. Bring it slightly to room temperature before piping it again.
  • For you-
  • Enjoy!
    Sending this to Srivalli's Chocolate Mela

    Note:
  • This recipe makes mid-sized cupcakes. 
  • If the frosting softens up, stick the whole piping bag in the fridge for 15 minutes or so and then start piping again.
Read More...

Saturday, January 28, 2012

Chocolate Chili

BM#12W2, Day6: Hope my readers aren't bored of seeing only sweet recipes.. Well, for a change, I am posting a savory recipe. Here in this Chili recipe,Chocolate is used as a flavoring agent to enhance the flavor of the Chili. Caution must be used to not go overboard with the chocolate. We want it to be subtly present but never overpowering. Base recipe from Allrecipes.


For your Ears: This song simply cracks me up. My son loves it as well. He tries to mimic the fancy footwork and that is so funny to watch.

Ingredients:
  • 1-1/4 Cup Lean Ground Turkey
  • 1 Cup Red Kidney Bean, soaked overnight and cooked/pressure-cooked till tender
  • 1/2 Large Yellow Onion, finely chopped
  • 2 Small Red Tomatoes, finely chopped
  • 3-4 B& G Hot Cherry Peppers
  • 4 Cups Homemade Chicken Stock
  • 1 Bell Pepper (I used 1/2 Yellow and 1/2 Green Pepper)
  • 3 Large Garlic Cloves, finely grated/minced
  • 1 Tsp Cumin Powder
  • 1/2 Tsp Ground Black Pepper or more/less
  • 1 Tsp Cornstarch
  • 1 Tbsp Dark Brown Sugar
  • 1-1/4 Tbsp Coarsely Chopped Unsweetened Dark Chocolate
  • Olive Oil for Cooking
  • Green Onions for Garnish
Procedure:
  • In a thick bottomed pan, heat the oil and brown the onions and peppers.
  • Add the ground turkey and grated garlic and cook for 2-3 minutes
  • Take 1/2 Cup of the cooked beans and puree it with little chicken stock. Set aside. Add the remaining beans, tomatoes, brown sugar and chopped cherry peppers. Season with salt and ground pepper.
  • Chop about 1-1/2 Tbsp of unsweetened chocolate and set aside. Please don't go beyond the said limit. 
  • Dilute the cornstarch with little chicken stock. Add it to the pan along with the chicken stock and the bean puree. Let it cook for about 15 minutes on a medium flame until the chili thickens.
  • Switch off the stove and add the chocolate. 
  • Transfer to serving bowls and garnish with spring onions.
    Enjoy!
    Sending this to Srivalli's Chocolate Mela


    Read More...

    Friday, January 27, 2012

    Banana, Cocoa and Date Milkshake with Flaxseeds
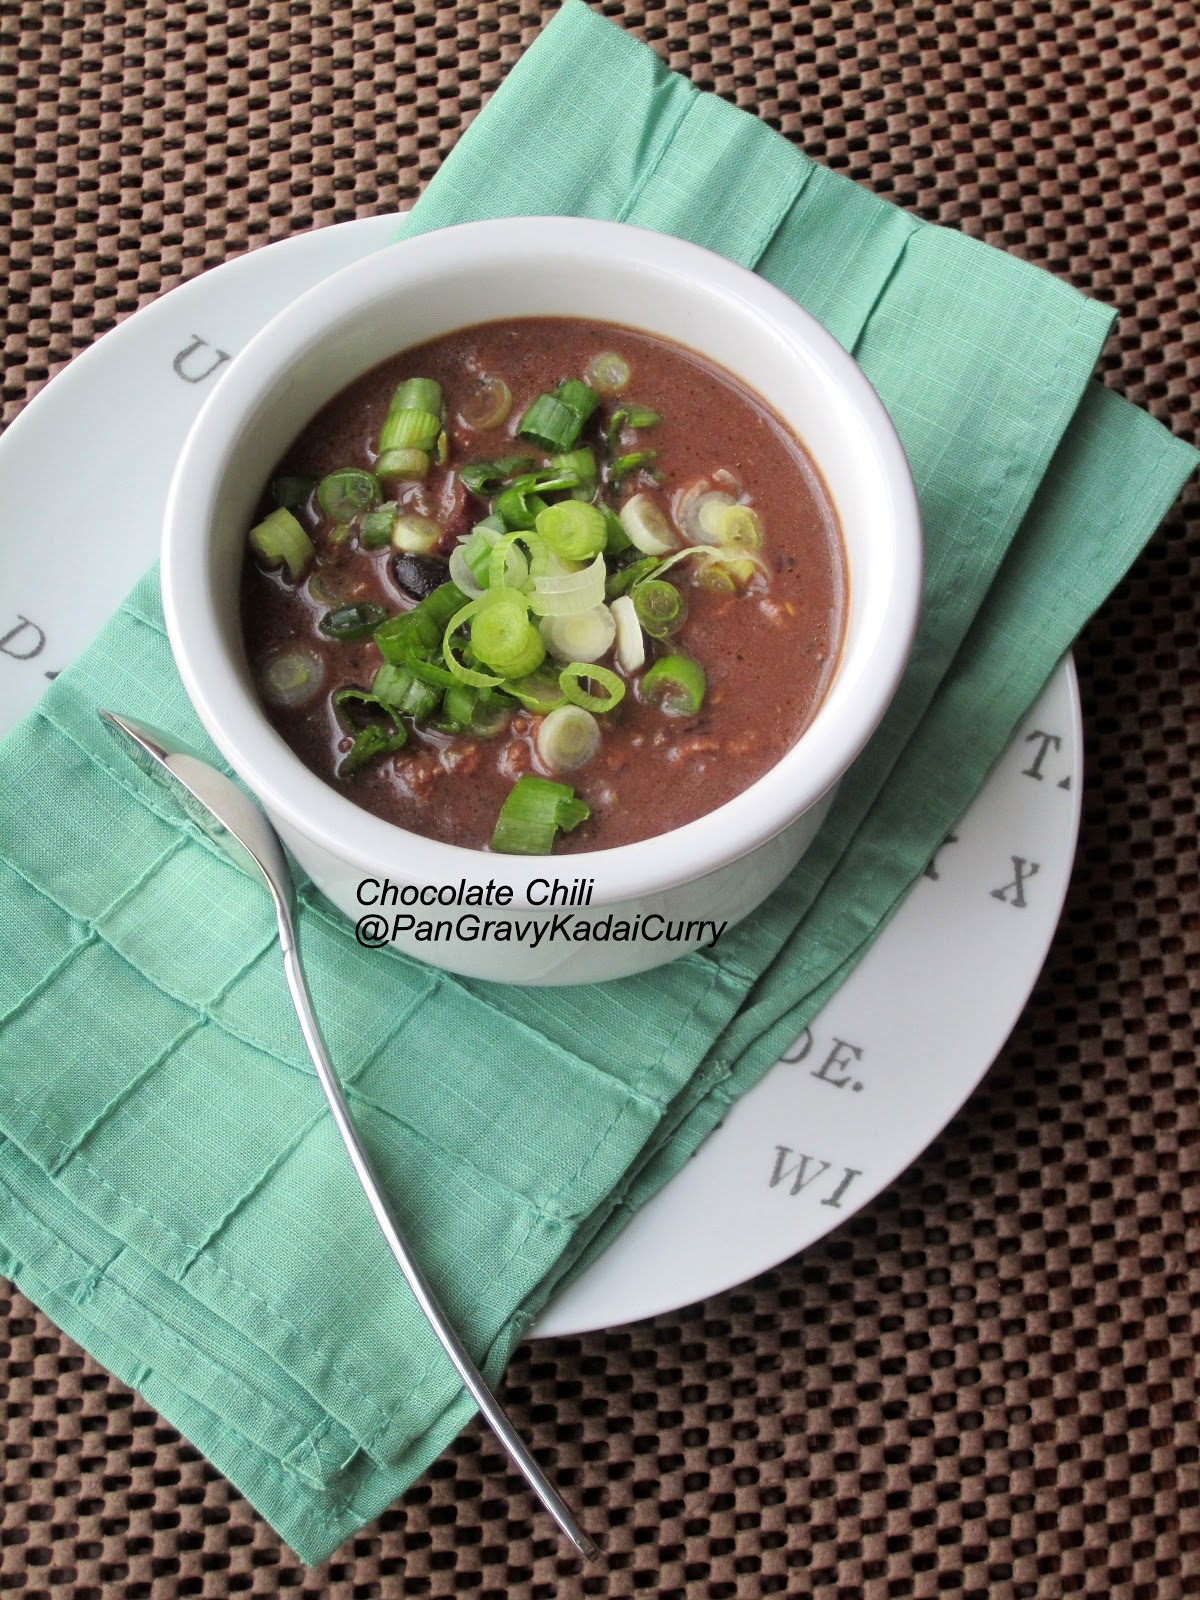
    BM#12W2, Day5:  A "Bada Bing Bada Boom" Milkshake that gets you going till lunch time while keeping all the unhealthy cravings at bay. Super-yum shake that is a must try!!


    For Your Ears: I was actually thinking about this song as I was making the shake. So thought I would share it..But beware this song is "slightly" risque`. But the tune is so catchy..it made me share anywayz!


    Ingredients:
    • 1 "Nearly Ripe" Chiquita Banana (the one that is available all over US)
    • 5 Tunisian Dates, finely chopped
    • 1 Tbsp Bob's Red Mill Flaxseed Meal
    • 1 Tsp Cocoa Powder
    • 5-6 Tbsp Hot Water
    • 1-1/4 Cups Cold Skimmed Milk
    • Crushed Ice, as needed
    Procedure:
    • Add the chopped dates and flaxseed meal to a small bowl.
    • Pour the hot water into the bowl and let it sit for about 5 minutes.
    • Slice the bananas and add to the blender along with cocoa, crushed ice, cold milk and date-flaxseed mixture.
    • Blend until the mixture is frothy.
    • Enjoy it immediately as is or with a dusting of cocoa powder on top. 
    Another Chocolate-y Concoction to tickle your taste-buds..

    Sending this to Srivalli's Chocolate Mela

    Read More...

    Thursday, January 26, 2012

    Chocolate Strawberry Kesari "Cocoa Berry Kesari"

    BM#12W2, Day4: This is actually a re-post...The reason why I am doing a re-post is not because I was a lazybum and didn't have nothing to post about..Its just that I sincerely felt that this dish deserves another go..The Original post was made ages ago when this blog was relatively new and not seen many visitors. So it is very possible that many of you may not have seen it..I thought to myself that it would be a sin if I let this dish go unnoticed.

    I make this quite often either on festive occasions or when I am entertaining guests..Truth be told I have gotten only praises for this luscious concoction! So here you go-


    First post and the recipe is here. The original post does not have step by step recipe. So I decided to post the step-wise pictures here..

    For your ears: ""Why this Kolaveri di??"--> Why this murderous rage, Girl?? 
    This is just to spite my husband who doesn't get why this song has gotten so popular that more than 1 million people have shared this song on Facebook, why Japanese PM loved this song that he wanted to meet the guy who sang this song, why CNN named this the best song of 2011 and why Youtube awarded Gold Medal to this guy..
    Stepwise pictures and procedure:
    • Clean and cut strawberries.
    • Puree it in a blender.
    • Fry the semolina in little Ghee until it is lightly browned.
    • Fry the raisins and nuts in Ghee.
    • Bring water and milk to a boil. Add the sooji and stir continuosly to avoid clumps.
    • Mixture thickens after a while.
    • Now add the berry pulp.
    • Follow-up with sugar and nuts.
    • Stir on a low-flame until the mixture thickens again. Set aside in a bowl and cover with a lid.
    • In the same wide pan, cook the semolina with milk and water. Mix the melted ghee and cocoa in a bowl.
    • Add the sugar to the sooji and it will liquefy the mixture again. To it add the cocoa mix, nut-raisin mixture.

    • Stir until this thickens.


    • Line a cookie sheet with aluminum foil. Using 2 spoons, stuff the ice-cream scoop with 2 flavored kesari.
    • Dump the CocoaBerry Kesari balls on the cookie sheet. Serve at room temperature or slightly chilled. Either way it tastes splendid. Serve it with a cup of Chai. 
    Here is another one: MIL's Fruit Kesari-
    Enjoy!

    Sending this to Srivalli's Chocolate Mela
    Read More...

    Wednesday, January 25, 2012

    Egg-less Microwave Chocolate Mug Cake

    BM#12W2, Day3: Take a shortcut to indulgence with this super easy, "under 5 minutes from start to finish" Microwave Chocolate Mug Cake. How awesome is that! I have been wary of trying this in-spite of seeing it in many blogs but the first time I laid my eyes on the pictures in Edible Garden(which was a couple of weeks ago) I gave in to temptation. So recipe inspiration comes from there and also from random links from google search. 

    For your Ears: I am a fan of John Abraham..Need I say more?? :). 

    Ingredients:
    • 4 Tbsp Unbleached All-Purpose Flour
    • 3-1/2 Tbsp Granulated Sugar
    • 2 Tbsp Cocoa Powder
    • 1 Tsp Baking Powder
    • 4 Tbsp Milk
    • 2 Tbsp Butter
    • 2 Tbsp Olive Oil
    • 1 Tsp Vinegar
    • 1/2 Tsp Vanilla Extract
    • 1-1/2 Tbsp Mini Chocolate Chips/Chocolate Morsels
    Procedure:
    • Melt the butter in a small bowl. Add the Oil, Milk, Vinegar and Vanilla Extract to this bowl.
    • Add the dry ingredients in a big "microwave safe" coffee mug.
    • Add the wet ingredients to the dry ingredients. Using a fork, stir to incorporate. The reason a fork is essential to this step is because it can reach every nook and corner in the mug to combine the ingredients in the mug.
    • Place it in the microwave with a plate underneath. The cake batter bubbles and spills over the rim of the mug.FYI, I used a mug that is 3-1/2" tall and 3-1/2" in diameter. Use a mug taller than this if you don't want spill-overs.
    • Microwave the cake for 1 minute, followed by 30 seconds and maybe another 15 or 30 seconds. Do not go over 2 minutes.No more. Please also keep in mind that this timing slightly varies from one microwave oven to another.
    • Let it cool for 3-4 minutes prior to digging in.
    • The crumb texture and the taste is phenomenal, for an "under 5 minute" cake. 
    • Have at it..To completely scoop it out from the mug, like in the last picture, please wait for at-least 15 minutes for the cake to shrink and pull away from the sides of the mug. Then with the help of steak knife scoop it out. Else the cake will fall apart..But hey, crumbs or not, its a super tasty treat. 


      • Note:This cake tastes best on the same day it is made.


    If you have more time then perhaps give these cakes a try:
    Enjoy!
    Read More...